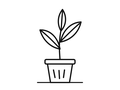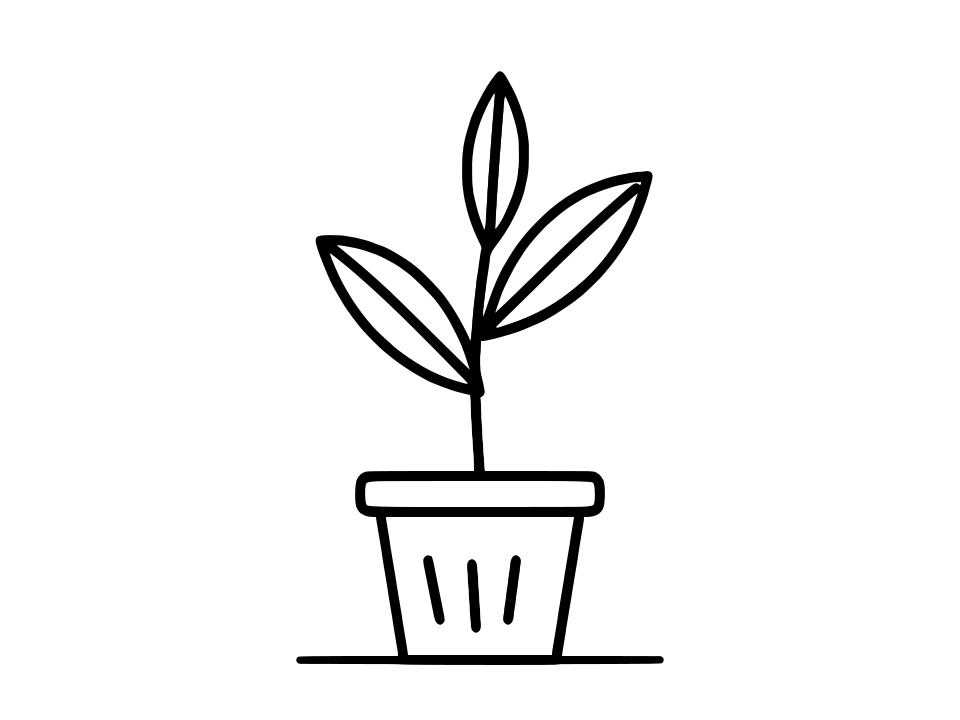
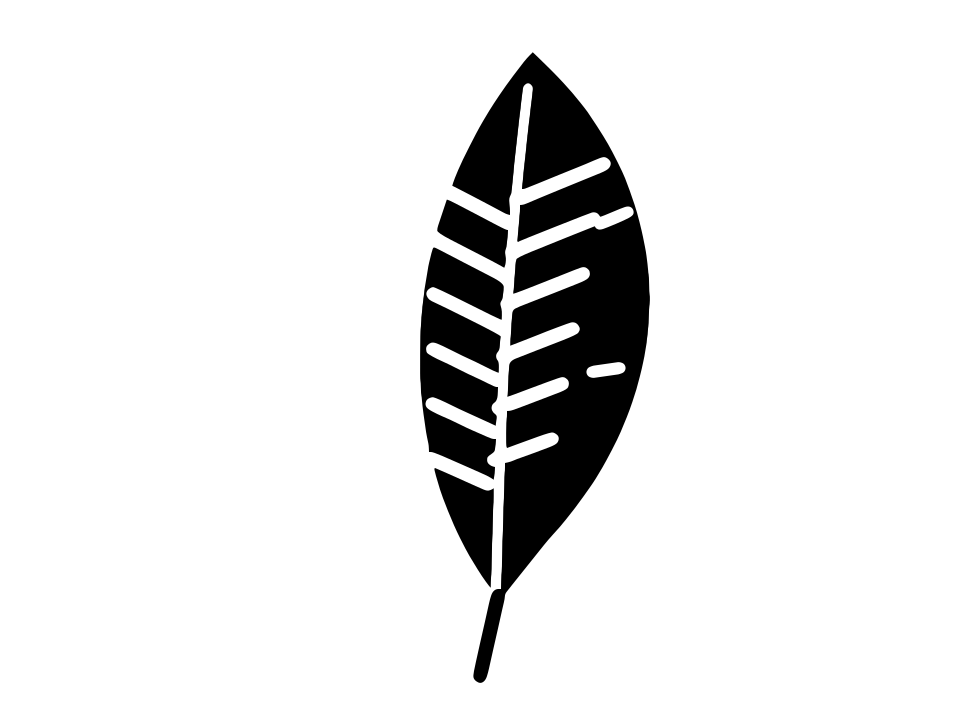
 Before · PNGAfter · SVG · 4 shapes
Why a laser cutter needs vector paths
Laser machines work in two ways. For engraving, the head sweeps back and forth and fires where the design is filled, much like a printer. That can be done from a bitmap, though a vector usually gives crisper edges. For cutting (and vector scoring), the laser follows a path, so it needs real outlines: a PNG or JPG has no paths to follow at all.
Turning an image into a laser cutter SVG means tracing it: finding the edges of each dark area and drawing a closed vector outline around it. Image Tracer does this in your browser, and the resulting SVG imports into common laser software such as LightBurn or the Glowforge app. (Those names are used only to describe compatibility; Image Tracer is not affiliated with either.)
How to turn an image into a laser-ready SVG
- Start with a high-contrast image: dark artwork on a light background. Crop away anything you do not want cut or engraved.
- Drop it on the converter above. It works in Black & white mode, which suits single-material laser work.
- Check that the shapes are complete. If thin parts break up or small gaps close, open it in the editor and adjust the Threshold.
- Raise Ignore less than to remove tiny pieces that would be wasted cuts or fall out of the material.
- Download the SVG, import it into your laser software and scale it to its final physical size there.
Your image is traced locally in a Web Worker. It is never uploaded, and the tool works offline once loaded, which is handy on a workshop computer.
Engraving vs cutting: what the traced SVG gives you
Every shape Image Tracer produces is a filled, closed outline. How that behaves depends on what you ask the laser to do with it.
| Laser operation | What the laser does with a traced shape | Good for |
|---|---|---|
| Fill / engrave | Scans and burns the whole inside of each shape, leaving holes untouched. | Logos, text, artwork, photos made into stencils |
| Line / cut | Follows the outline of each shape, including the outline of every hole. | Silhouettes, signs, stencils, coasters, ornaments |
| Line / score | Follows the outlines at low power, marking but not cutting through. | Outline effects, fold lines on bold shapes |
For engraving, filled shapes are exactly what you want. For cutting, there is one important thing to understand about thin lines, covered next.
Thin lines: outlines, not centerlines
Image Tracer traces the edges of filled areas. It does not produce single-stroke centerlines. A thin black line in your image becomes a long, narrow filled shape, so its outline runs along both sides of the line.
When you engrave, that does not matter: the narrow shape is filled and you get your line. When you cut, the laser follows both edges, cutting a thin sliver out of the material instead of a single kerf line. If your design is line art meant to be cut along the line, such as a hand-drawn outline, plan for that:
- Use the design as an engraving rather than a cut.
- Fill in the drawing so it becomes a solid silhouette, then cut the silhouette's outline.
- Thicken the lines in an image editor first, so the cut-out strip is a deliberate, strong part of the design.
There is no stroke or centerline output in Image Tracer, and the paths are always filled.
Closed paths, real holes and no overlaps
Laser software is happiest with clean geometry, and that is what tracing produces:
- Every path is closed. A traced outline always returns to where it started, so there are no open ends for the laser to stop at.
- Holes are real. The centre of an O, the inside of a ring or the gaps in a stencil are cut-outs in the shape, using
fill-rule="evenodd". Fill engraving leaves them unburned, and cutting traces their edges. - Each separate shape is its own path. You can select, move, delete or assign a different layer to any piece in your laser software.
- No duplicate lines. In Black & white mode each edge is traced once, so the laser does not cut the same line twice.
- Sharp corners stay sharp. Corners between straight edges are kept exact, which matters for boxes, tabs and geometric designs.
The example above is a feather design that traces to 4 shapes with 444 nodes in total: clean closed paths with real holes for the slits, ready to cut or engrave.
Stencils need bridges. When cutting a stencil, the middle of a letter like O or A is a separate piece and will fall out. Add bridges in the artwork, or in your laser software, before cutting.
Settings for laser cutting and engraving
| Setting | What to do for laser work |
|---|---|
| Threshold | Starts automatic. Move right to thicken thin parts so they survive cutting; left to open up small gaps. |
| Ignore less than | Raise from 2 px² to 20 to 100 px² so specks and tiny islands do not become separate cuts. |
| Blur | 1 to 2 px on scans or photos to smooth rough edges before thresholding. |
| Invert image | Tick it when the design is light on a dark background. |
| Smoothness | Lower for geometric parts with crisp corners; higher for organic shapes. |
| Curve optimisation | Raise a little to reduce nodes, which gives smoother motion and faster jobs. |
Black & white mode is the right choice for most laser jobs, because a single material is either cut or not. If you want to engrave different areas at different powers, you can trace in Colour mode in the editor and assign each colour's shapes to its own layer in your laser software.
Scaling the SVG to the right size
The SVG's width, height and viewBox equal the traced pixel size, for example 2048 by 2048 if a large image was scaled to the default Max size. Pixel units have no fixed physical size, so different programs may interpret them differently on import.
The reliable approach: import the SVG, lock the aspect ratio, and set the width or height to the exact millimetres or inches you need in your laser software. Because the file is vector, scaling up or down does not lose any sharpness.
Tips for clean laser cuts
- Check thin parts at final size. A detail that looks fine on screen may be thinner than the laser's kerf once scaled to 50 mm. Thicken it with the Threshold, or simplify the artwork.
- Use Show points in the editor. Fewer nodes mean smoother cuts. Raise Curve optimisation if simple curves have lots of points.
- Remove what you will not cut. Delete stray shapes in your laser software, or raise Ignore less than and trace again.
- Test on scrap first. Run a small version on offcut material to check detail, bridges and power settings.
Making designs for a vinyl cutter instead? See Image to SVG for Cricut. Image Tracer exports SVG only; if your machine needs DXF, convert the SVG in a vector editor such as Inkscape.
Frequently asked questions
Is this laser cutter SVG maker free?
Yes. Image Tracer is free and open source, with no account, no watermark and no file limits. Your image is traced in the browser and never uploaded.
Will the SVG work in LightBurn or Glowforge?
The output is a plain SVG of closed, filled paths, a format that laser software such as LightBurn and the Glowforge app imports. Image Tracer is not affiliated with either. Set the final size after importing.
Why does my line drawing cut on both sides of each line?
Image Tracer traces filled outlines, not single-line centerlines. A thin line becomes a narrow filled shape, so cutting follows both of its edges. Engrave line art instead, or fill it into a solid silhouette and cut the outline.
How do I remove tiny pieces from my laser file?
Raise Ignore less than in the editor. Shapes smaller than that area, in square pixels, are dropped, so specks and tiny islands do not become separate cuts.
Can I convert an image to SVG for laser engraving?
Yes. Filled shapes are ideal for fill engraving: the laser burns the inside of every shape and leaves holes untouched. Black & white mode works best for most engraving designs.
Can I export DXF for my laser cutter?
No, Image Tracer exports SVG only. Most laser software opens SVG directly; if yours needs DXF, open the SVG in a vector editor such as Inkscape and save it as DXF.
Last updated