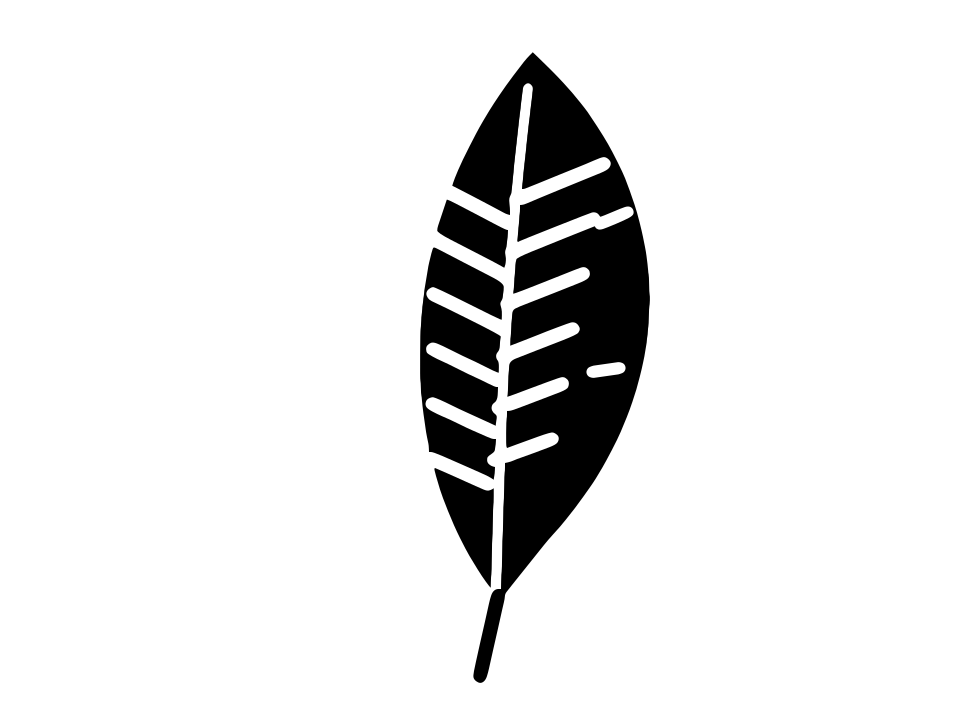
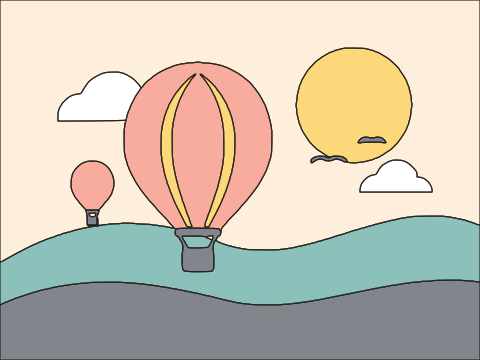
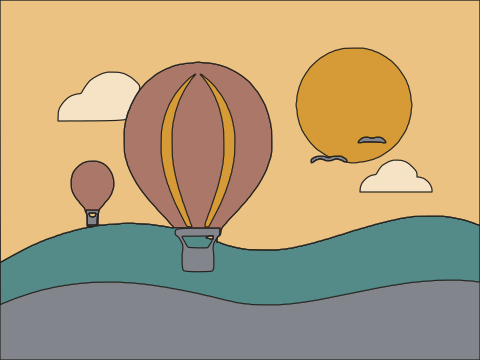
 Before · PNGAfter · SVG · 4 shapes
Why cutting machines need an SVG
A cutting machine follows lines. Give it a PNG or JPG and its software has to guess where those lines are, often with an automatic trace that is hard to control. Give it an SVG and the cut lines are already defined: the edge of every shape is a path the blade or laser follows.
The quality of that SVG decides how much weeding and fixing you do later. Image Tracer was built so that the paths it produces map directly onto how cutting works.
Image Tracer is an independent, open-source project and is not affiliated with or endorsed by Cricut, Silhouette or any machine maker. The names are used only to describe compatibility.
How to make a cut file from an image
- Drop your image on the converter above. It starts in Black & white mode, which is the right choice for single-colour cuts.
- Check that every part you want to cut is solid black in the preview, and that holes are open.
- Open the image in the editor if you need to adjust the Threshold, remove tiny pieces or switch to Colour mode for layered designs.
- Click Download SVG.
- Upload the SVG into your machine's design software (Cricut Design Space, Silhouette Studio or your laser software) and size it.
Separate shapes and real holes
Two properties of the SVG matter most for cutting, and both are built in.
Every shape is its own path
In both modes, every visually separate shape becomes its own <path>. For a word, that is one path per letter. In your cutting software you can space, weld, delete or resize pieces individually instead of fighting with one giant compound shape.
Holes are cut out, not covered
The inside of an O, the centre of a ring, the window in a house: these are real holes, using fill-rule="evenodd". The machine cuts the inner edge too, so the centre weeds away cleanly. There are no white shapes stacked on top of black ones pretending to be holes, which would otherwise be cut as extra pieces.
The example above is a feather design with slits cut through it, traced to 4 shapes and 444 nodes. Every slit is a real hole in the feather, ready for weeding.
The SVG also contains no background rectangle. Only the design is cut, never a box around it.
The right settings for cutting
| Goal | Setting |
|---|---|
| No tiny bits that are impossible to weed | Raise Ignore less than |
| Thin parts too fragile to cut | Raise Threshold to thicken them |
| Fewer nodes, smoother cuts | Raise Curve optimisation |
| Crisp corners on lettering | Lower Smoothness |
| White design on a dark image | Tick Invert image |
Ignore less than: your weeding saver
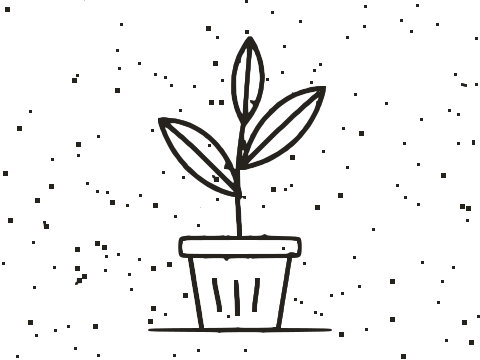
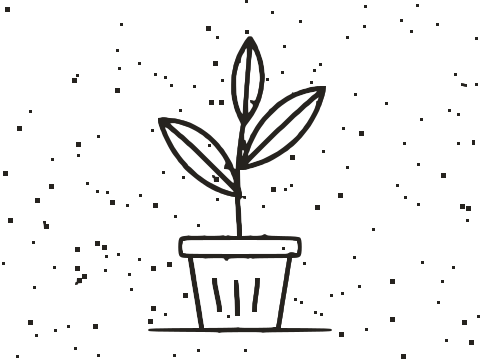
Specks of noise in an image become tiny shapes, and tiny shapes become frustrating little cuts that peel off with the backing or burn away in a laser. Ignore less than sets the smallest area, in square pixels, that may become a shape. The default is 2. For cut files, try 20 to 100 depending on image size, and check that small intentional details such as dots on letters are kept.
Threshold for cuttable thickness
Thin lines in a design may be fine on screen but tear in vinyl or paper. Moving the Threshold up makes more of the image count as dark, which slightly thickens every part. Moving it down thins everything and opens up gaps.
Fewer nodes cut better
Every node is a point where the blade adjusts direction. Thousands of tiny segments can make a cut slow and jittery. A slightly higher Curve optimisation gives fewer, longer curves. Turn on Show points in the editor to see the nodes.
Multi-colour designs and layered vinyl
For a design with several colours, switch to Colour mode in the editor:
- Set Number of colours to the colours in your design plus the background.
- Turn on Remove background so the area around the design is dropped.
- Choose an Output style that matches how you layer.
Separate shapes (the default) is a true cut-out decomposition. Each colour region is its own path, neighbouring regions share exactly the same edge, and nothing overlaps. Pieces fit together like a jigsaw, which suits inlay and puzzle-style work.
Stacked layers gives one path per colour, stacked dark to light, where each layer also extends underneath the layers stacked on top of it. That is closer to traditional layered vinyl, where each colour sits on top of a larger base layer, and it hides small misalignments.
In your cutting software, group shapes by colour to cut each vinyl colour separately. Black & white vs colour tracing has more on choosing a mode.
Tips for clean cut files
- Start simple. Bold silhouettes, lettering and flat clip art make the best cut files. Photos and detailed shading do not.
- Use a large source image. More pixels mean smoother edges in the trace.
- Mind floating pieces. In a stencil or a single-piece cut, the inside of letters like A or O falls out. That is how the design is shaped, so plan bridges in your design software if you need them.
- Check size in your software. The SVG's dimensions equal the traced pixel size, so set the physical size you want after importing.
Laser cutting and engraving
The same SVG works in laser software. Because each shape is a closed, filled outline, it suits both cutting along the edge and filled engraving. Remember that the result is an outline of every line, not a single centreline, so a thin drawn line will be cut on both sides. For line drawings, see line art to vector.
Frequently asked questions
Does the SVG work in Cricut Design Space and Silhouette Studio?
Yes. The output is a plain, standard SVG made of filled paths, which both programs can import. Image Tracer is not affiliated with Cricut or Silhouette.
Why do holes in letters cut properly?
Holes are real holes in each shape, defined with the even-odd fill rule, so the machine cuts both the outer and inner edge. There are no white patches on top that would be cut as extra pieces.
How do I get rid of tiny pieces that are impossible to weed?
Raise Ignore less than in the editor. Any shape smaller than that area in square pixels is dropped. Values of 20 to 100 work well for most cut files.
Can I make a layered vinyl design?
Yes. Use Colour mode with Remove background. Separate shapes gives pieces that fit together exactly with no overlap; Stacked layers gives one path per colour, layered on top of each other.
Can I use it for laser cutting?
Yes. The SVG contains closed filled outlines that laser software can cut or engrave. Note that lines are traced as outlines, not single centreline strokes.
Last updated