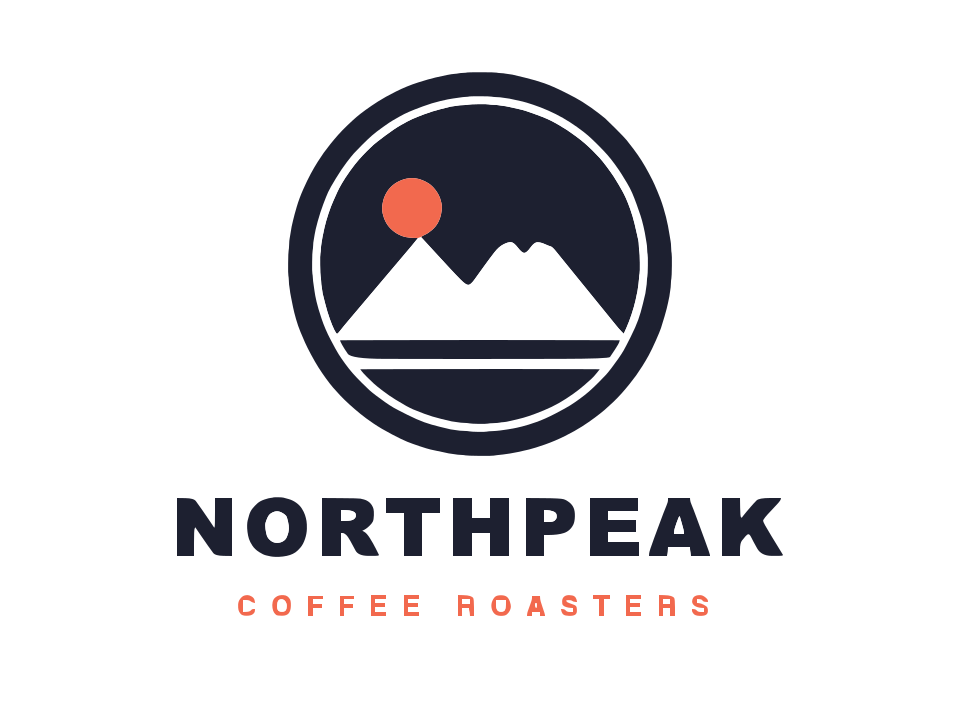
 Before · PNGAfter · SVG · 39 shapes
What you need
- An image in PNG, JPEG, WebP, GIF or BMP format. Logos, icons, drawings, text, signatures and flat illustrations work best.
- A browser on a computer. Open Image Tracer; there is nothing to install and nothing to sign up for.
- A few minutes. The first trace appears in a second or two; most of the time goes into checking it.
Your image never leaves your device. The tracing happens inside the page itself, which also means the tool keeps working offline once it has loaded.
If you are not sure what an SVG actually is or why you would want one, read Raster vs vector first. The one-line version: an SVG is made of shapes rather than pixels, so it stays sharp at any size and can be cut, engraved and edited shape by shape.
Choose and prepare the image
Converting an image to SVG means tracing its outlines, so the cleaner the outlines, the better the file. A little preparation makes a bigger difference than any setting.
Good and bad candidates
- Great: black text or line drawings on white, single-colour logos, icons, silhouettes, stamps, simple cartoons with flat colours.
- Workable: multi-colour logos and illustrations with a handful of flat colours, phone photos of drawings on paper.
- Poor: photographs, soft shadows, gradients and fine textures. These turn into flat, poster-style shapes, because an SVG made by tracing has flat fills only.
Quick preparation checklist
- Use the biggest version you have. Around 1000 px or more across the subject is a comfortable target. A tiny thumbnail gives lumpy curves no matter what you do.
- Crop tightly. Remove anything that should not be in the SVG: page edges, other text, desk surfaces.
- Prefer PNG over JPG when you have both. JPG compression leaves faint smudges along edges that become bumps in the outline.
- Photograph drawings flat and evenly lit. Shadows across the paper are the most common cause of messy scans.
Step-by-step: make your SVG
- Open the editor. Go to Image Tracer. It is free and open source.
- Add your image. Drag the file onto the page, click Open image, or copy the image anywhere and paste it with Ctrl+V (Cmd+V on a Mac). A first trace is made straight away with default settings.
- Choose Black & white or Colour. Pick Black & white for anything that is one colour: text, line art, signatures, single-colour logos, cut-file silhouettes. Pick Colour when separate colours must survive, such as a red and blue badge. When in doubt, try Black & white first; it gives the cleanest edges.
- Adjust the main setting for your mode. In Black & white, that is Threshold. In Colour, it is Number of colours. Both are explained in the next section.
- Clean up specks if needed. If dust and dots appear as tiny shapes, raise Ignore less than.
- Check the result. Zoom in, turn on Show points, and compare with the original using Fade image. See Check the result below.
- Download. Click Download SVG to save the file, or Copy SVG to paste the code straight into another program or a web page.
Every change re-traces automatically, so you can experiment freely. If you lose track, Restore default settings puts everything back, and Remove image (or Esc) clears the page for the next file.
The few settings that matter
Image Tracer has more controls than these, but beginners rarely need them. Start here and leave the rest at their defaults.
Threshold (Black & white)
Threshold decides which pixels count as ink and which count as background. It is set automatically for each image, and a histogram shows how the brightness is spread. Switch the preview to Processed image to see the black and white mask that will be traced. Move the slider up if thin lines are breaking apart; move it down if letters are filling in or the background is turning black in places.
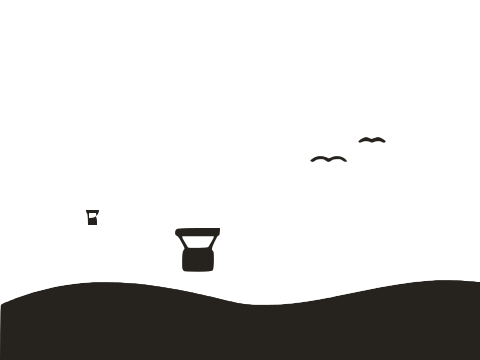
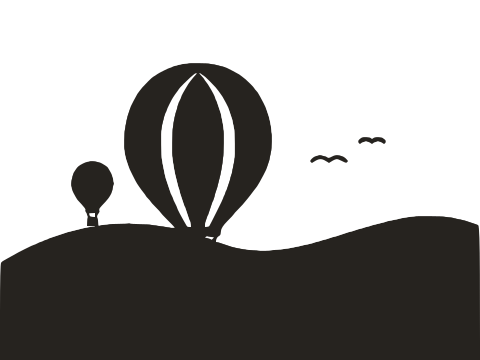
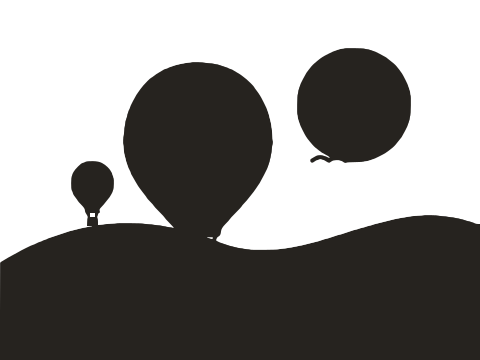
If your artwork is light on a dark background, such as chalk on a blackboard or a white logo on navy, turn on Invert image so the light parts are traced.
Number of colours (Colour)
Count the distinct colours in the image, add one for the background, and set Number of colours to that. The default is 8 and the range is 2 to 32. Too few, and two colours merge into one; too many, and edge tints or shading get shapes of their own. Turn on Remove background if you want the subject without the background around it.


Ignore less than
Shapes smaller than this area, in square pixels, are dropped. The default of 2 removes single-pixel noise. Scanned or photographed drawings often need a higher value to lose paper texture and dust.
Smoothness and Curve optimisation
Smoothness controls whether bends become sharp corners or rounded curves; lower it for geometric shapes, raise it a little for hand-drawn or script artwork. Curve optimisation controls how many nodes are used; raising it gives a lighter, simpler file at the cost of tiny details. The defaults suit most images, so treat these as fine-tuning.
For values by image type, see Best settings for image tracing.
Check the result
A trace can look perfect at normal size and still hide problems. Spend a minute on these checks before downloading.
- Zoom in on corners, thin lines and small details such as the dots on letters.
- Turn on Show points to see every node. Nodes should sit at corners and be spread out along curves. Thick clusters along a straight edge mean the outline is following noise.
- Turn on Fade image to see the original under the vector and check that line weights match.
- Read the status line. It reports the image size, the time taken, the file size in KB and the number of shapes and nodes. The badge logo at the top of this page traces to 39 shapes and 832 nodes (27.0 KB). A simple logo producing hundreds of shapes is a sign of specks or a background being traced.
Large images are scaled down to the Max size setting before tracing (2048 px by default). If fine detail is going missing on a very large scan, try a higher value.
Using your SVG
The downloaded file is a standard SVG made of filled paths, so it opens almost anywhere.
- On a website: use it like any image, or paste the copied code directly into your HTML. It stays sharp on high-density screens.
- In print: place it in your layout software at any size without blurring.
- On a Cricut or other cutting machine: upload it to the machine's design software as a cut file. Each separate shape comes through as its own piece. See Image to SVG for Cricut for cutter-specific tips.
- On a laser cutter or engraver: import it into your laser software. Note that the SVG contains filled shapes rather than single-line strokes, which suits engraving fills and cutting around outlines.
- For editing: open it in Inkscape, Illustrator, Affinity Designer or Figma to recolour shapes, delete parts, add text or combine it with other artwork. Every shape is its own path with its own holes, so you can select pieces individually.
Troubleshooting
Everything comes out as a black rectangle
The image is light artwork on a dark background, so the background is being traced as ink. Turn on Invert image, or switch to Colour mode and use Remove background.
Thin lines are broken or missing
The Threshold is too low for faint lines. Raise it a little while watching the Processed image preview. A slightly larger source image also helps.
The SVG is full of tiny dots
Paper grain, dust or JPG noise is being traced. Raise Ignore less than, or add a small Blur in Black & white mode to smooth the noise before tracing.
Edges are wobbly or lumpy
The source is too small or heavily compressed. Find a bigger, cleaner version if you can; otherwise try a small Blur and a slightly higher Curve optimisation.
Colours are merged or there are thin outlines around shapes
If two colours have merged, add one to Number of colours. If a thin ring of an in-between colour hugs the edges, remove one instead.
My photo looks like a poster
That is what tracing a photo produces: flat areas of colour in place of smooth tones. For a faithful photo, keep the original JPG or PNG; SVG is the wrong format for it.
Other ways to make an SVG
Tracing is the fastest route from an existing picture, but it is not the only one, and sometimes not the best.
- Draw it in a vector editor. Inkscape (free), Illustrator, Affinity Designer and Figma let you draw shapes and curves by hand and export SVG. For a logo that must be perfect, many designers trace once for reference and then redraw the key shapes.
- Export from design or diagram tools. Many drawing, charting and diagramming apps can save directly as SVG, which gives cleaner files than tracing a screenshot of the same thing.
- Write it by hand. SVG is text, so simple icons and shapes can be written directly in a code editor.
- Ask for the original. If the image is a company logo, the owner or the original designer may already have a vector version. That will always beat a trace.
When none of those apply and you have a picture you need as a vector, a tracer is the practical answer. For a logo-specific walkthrough, see How to vectorize a logo.
Frequently asked questions
Is it really free to make an SVG this way?
Yes. Image Tracer is free and open source, with no account, watermark or usage limit. It runs in your browser, so images are never uploaded.
Can I convert a JPG to SVG?
Yes. JPEG, PNG, WebP, GIF and BMP images can all be opened. If you have a PNG of the same image, use that, since JPG compression adds noise around edges.
Can I make an SVG on my phone?
There is no mobile app. The editor runs in a web browser, but checking corners and nodes is much easier on a larger screen, so a laptop or desktop is the comfortable choice.
Why is my SVG file bigger than the PNG?
Detailed images need many shapes and nodes, and each node takes space in the file. Raise Curve optimisation and Ignore less than for a lighter file, or reduce Number of colours in Colour mode.
Will the SVG have a transparent background?
In Black & white mode only the ink shapes are drawn, so there is no background. In Colour mode, turn on Remove background to drop the regions touching the image border.
Can I get lines (strokes) instead of filled shapes?
No. Image Tracer outputs filled paths only. A drawn line becomes a thin filled shape that looks identical, but it is not a single centre line.
Last updated