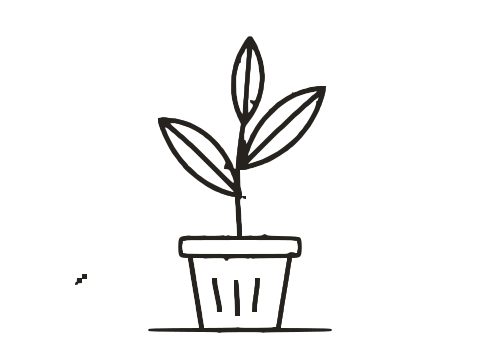
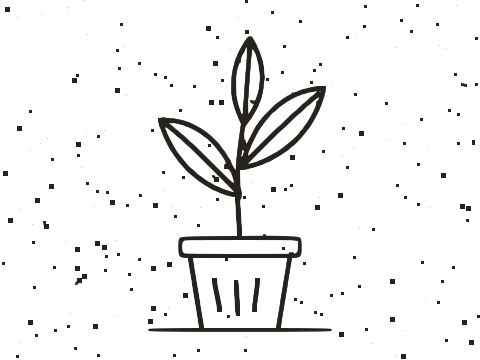
 Before · PhotoAfter · SVG · 4 shapes
What kind of drawings convert well
Tracing turns dark marks on a light background into filled vector shapes. The cleaner the separation between line and paper, the better the result.
- Inked drawings, comics and lettering: ideal. Solid black lines trace almost exactly.
- Fineliner and marker sketches: very good, as long as the scan is sharp.
- Pencil sketches: workable. Pencil is grey and uneven, so you need to choose where line ends and paper begins. More on that below.
- Shaded drawings: hatching traces as lots of small shapes; smooth tonal shading does not survive, because the result is pure black and white.
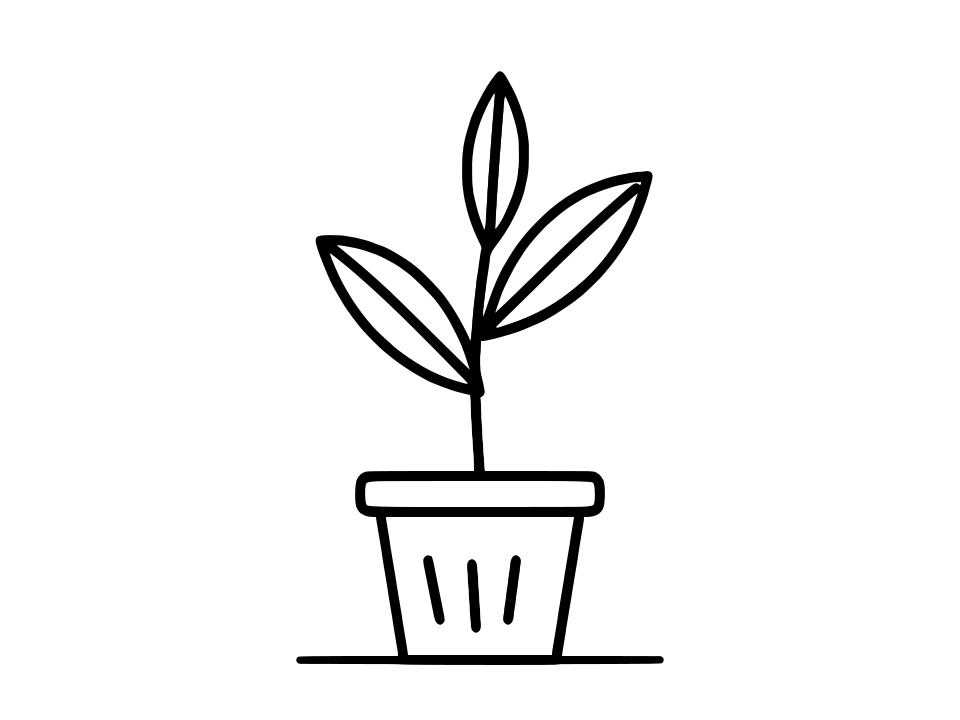
The example above is an ink sketch of a potted plant: it traces to 4 shapes and 598 nodes. Fine, curvy lines need many nodes to follow faithfully, so detailed line art produces bigger files than a simple logo.
How to convert a drawing to SVG
- Scan the drawing at 300 dpi or more, or photograph it flat in even light.
- Drop the image on the converter above. It starts in Black & white mode with an automatic threshold.
- Look closely at thin lines and small gaps. If lines break or merge, open the drawing in the editor.
- Adjust Threshold and Blur while watching the Processed image preview, which shows the exact mask that will be traced.
- Download the SVG or copy the markup.
For the full process, from scanner settings to cleaning up the file, read How to vectorize a scanned drawing.
Threshold and blur: the two settings that matter
Threshold
Every pixel darker than the Threshold counts as line; everything lighter counts as paper. The starting value is calculated automatically for each image, and the editor shows a histogram of the image's tones.
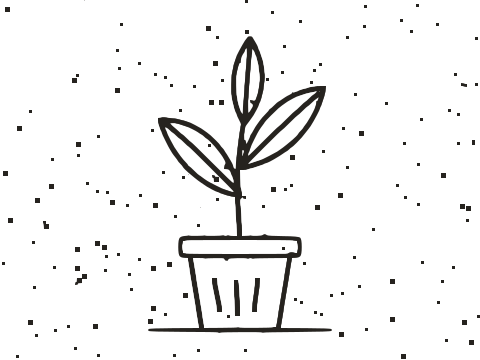
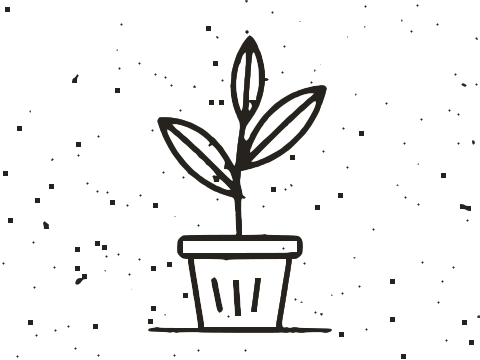
On inked art the histogram has two clear peaks, ink and paper, and the automatic value lands between them. On a pencil sketch the tones run together, and the threshold becomes a creative choice:
- Raise it to pick up faint pencil lines. Lines get bolder and gaps close.
- Lower it to keep only the confident, darker strokes and drop construction lines and smudges.
Blur
Blur softens the image before the threshold is applied. Pencil on textured paper produces a grainy, broken line; a blur of 1 to 2 px joins that grain into one continuous stroke. On clean ink, leave it at 0, because blur also rounds corners and can fill in tight gaps between lines.
Ignore less than
Ignore less than throws away shapes smaller than a given area. It is the quickest way to remove eraser crumbs, dust and paper fibres. Raise it gradually, so that small deliberate marks like dots and short hatches survive.
Tips for pencil sketches
- Ink over it if you can. Going over the final lines with a fineliner and erasing the pencil gives the cleanest trace by far.
- Darken the scan. Scanning in greyscale and raising contrast a little in any photo app helps separate graphite from paper.
- Erase guidelines first. Faint construction lines either disappear or come through as broken fragments. Neither looks good.
- Smooth it out. If lines look jittery, raise Smoothness a little and increase Curve optimisation for fewer, longer curves.
White chalk or pencil on black paper works too: tick Invert image so the light lines are traced instead of the background.
Filled outlines, not single-line strokes
It is worth knowing exactly what you get. Image Tracer traces the outline of every line, so each pen stroke becomes a thin filled shape with two edges, not a single centreline stroke.
That is great for keeping the character of the drawing: tapering ends, thick and thin brush strokes and ink pooling all survive. It also means:
- You cannot change the line width with a stroke setting afterwards; the width is part of the shape.
- Pen plotters and engraving modes that expect single-line paths will draw around both edges of every line.
Image Tracer does not offer centreline tracing, so for plotter work you will need a dedicated tool. For printing, cutting, colouring and scaling, filled outlines are exactly what you want.
What you get in the SVG
Every visually separate piece of the drawing is its own <path>, with real holes. A closed loop, such as a circle drawn in ink, has its inside cut out, so you can colour areas underneath in a separate layer or drop the drawing onto any background.
Only the lines become shapes. There is no background rectangle, so the paper disappears and the SVG is transparent everywhere else. The lines are filled black.
What people use vectorized line art for
- Comics and illustration: ink on paper, then colour underneath the vector lines digitally.
- Colouring pages that print sharp at any size.
- Tattoo stencils and screen printing, where clean, solid lines are essential.
- Laser cutting and engraving: see image to SVG for Cricut and laser cutting.
- Hand-drawn icons and lettering for websites, which stay crisp on every screen.
Troubleshooting
Lines are broken into dashes
Raise the threshold, or add 1 px of blur to join grainy pencil marks.
Small gaps between lines have filled in
Lower the threshold and reduce blur. A larger Max size also helps keep tight gaps open on big scans.
The SVG file is very large
Detailed line art needs many nodes. Raise Curve optimisation, raise Ignore less than to drop specks, or trace at a lower Max size.
Frequently asked questions
Can I convert a pencil sketch to vector?
Yes. Pencil is lighter and grainier than ink, so raise the Threshold to pick up faint lines and add 1 to 2 px of Blur to join grainy strokes. Inking over the sketch first gives the cleanest result.
Does it produce single-line (centreline) strokes?
No. Each line is traced as a filled outline, which keeps its natural thickness and tapering. Image Tracer does not output stroke or centreline paths.
Will the paper background be removed?
Yes. In Black & white mode only the lines become shapes, and the SVG has no background, so the paper is gone and the drawing sits on transparency.
Can I colour my drawing after converting it?
Yes. Closed areas are real holes in the line shapes, so you can add colour on a layer underneath in any vector editor, or recolour the lines themselves.
Why does my line art SVG have so many nodes?
Thin, curvy lines have two long edges each, and following them accurately takes many points. Raise Curve optimisation for fewer nodes and a smaller file.
Last updated