
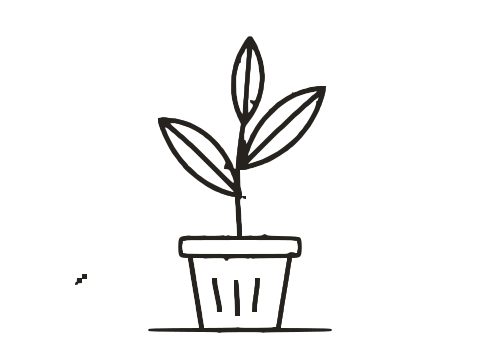
 Before · PhotoAfter · SVG · 4 shapes
Capture the drawing well
A tracer sees brightness, not intent. It cannot tell a pencil line from a shadow cast by your phone, so the aim of the capture is simple: dark lines, evenly lit paper, nothing else.
With a flatbed scanner
A scanner is the best tool because the lighting is perfectly even and the page is perfectly flat.
- Scan at 300–600 dpi. Higher is rarely useful; Image Tracer scales large images down to its Max size before tracing anyway.
- Use greyscale or colour mode rather than the scanner's own black and white mode. Its built-in threshold is cruder than the one you can tune here, and you cannot undo it.
- Clean the glass. Every speck of dust is a potential shape in the SVG.
- Save as PNG if the software allows it, otherwise high-quality JPEG.
With a phone camera
A phone photo works if you control the light.
- Even lighting. Shoot near a window on an overcast day, or under two lamps from opposite sides. Avoid the overhead light directly above you, which puts the shadow of your phone on the page.
- Flat paper. Press sketchbook pages flat under glass or weight the corners. A curved page gets darker towards the spine, and that gradient will confuse the threshold.
- Straight on. Hold the phone parallel to the paper so lines are not distorted. Fill the frame with the drawing, then crop.
- Contrast. If your phone has a document scan mode, use it: it flattens lighting and boosts contrast. Otherwise raise contrast slightly in a photo editor before tracing.
The drawing itself
If you are drawing specifically to vectorize, ink beats pencil. Fineliners and brush pens give dense, consistent black. If you sketch in pencil first, ink over it and erase the pencil once the ink is dry, or draw the sketch in a light blue pencil that the threshold will discard.
Load it and look at the processed image
Open Image Tracer, stay in Black & white mode and drop the scan onto the page. Then set the preview Mode to Processed image.
This view is the most useful tool for scans. It shows the exact black and white mask that will be traced, after Invert, Blur and Threshold have been applied. If the mask looks right, the vector will look right. Keep it on while you adjust the next three settings, then switch to Traced vector at the end.
Set the Threshold with the histogram
The Threshold decides which pixels are ink: anything darker than the value becomes part of a shape. Image Tracer sets it automatically for each image, and for a good scan of ink on white paper the automatic value is usually right.
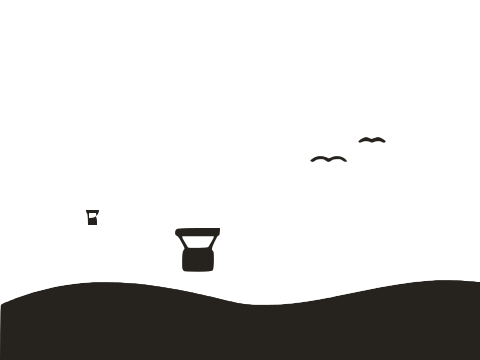
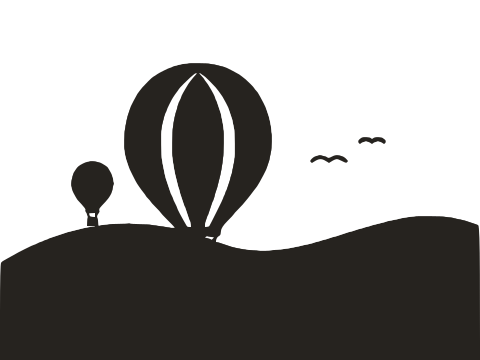
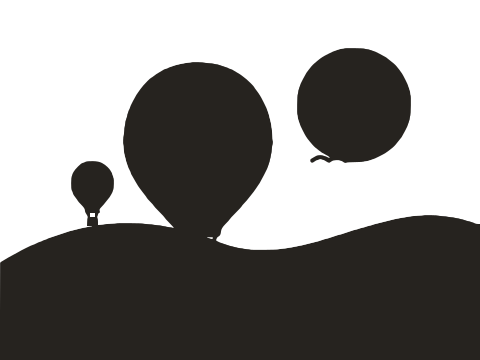
The histogram under the slider shows how the image's pixels are spread from black (left) to white (right), with a dark line at the current threshold. Reading it tells you what to do.
- A tall hump on the right and a lower one on the left: paper and ink are well separated. Put the threshold in the gap between them, which is where the automatic value lands.
- The paper hump is wide and creeps to the left: the paper is unevenly lit or tinted. Lower the threshold until the shadows and tint drop out of the mask.
- The ink is a faint smear rather than a hump: the lines are light, such as pencil. Raise the threshold slowly until lines become continuous, and stop before the paper texture starts to appear.
Watch the processed image as you drag. Moving the slider right (higher) makes lines thicker and joins broken strokes. Moving it left (lower) thins lines and opens up areas where hatching has filled in. For detailed pen-and-ink work, a few steps either way changes the character of the drawing, so compare carefully with the original.
Your manual threshold is kept until you load a new image or click Restore default settings. Before you touch the slider, the automatic value is recalculated whenever you change Blur.
Use Blur against paper texture and noise
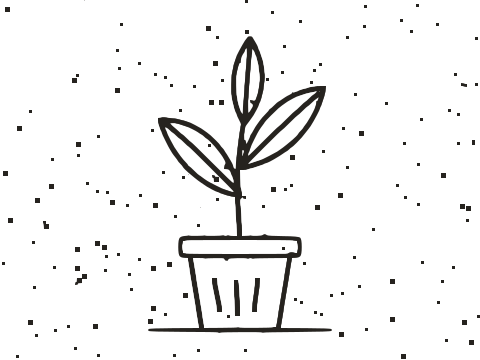
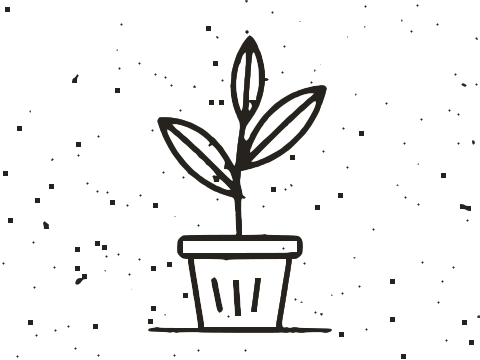
Paper has grain, scanners add noise and phone cameras add more. At the pixel level, the edge of a pen line is ragged. Blur softens all of that before the threshold is applied, so edges become smooth curves instead of fuzz.
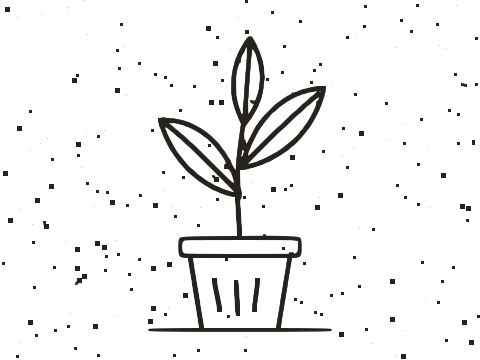
- 0: clean scans of crisp ink, and drawings with very fine hatching you want to keep separate.
- 1–1.5: most phone photos, watercolour or textured paper, and JPEG scans.
- 2–3: rough, noisy captures, or when you want a deliberately smoother, more graphic line.
Blur has a cost: it rounds corners and merges lines that are close together. If cross-hatching turns into solid grey blobs in the processed image, back it off. Blur applies when you press Enter or click out of the field, and because it changes the greyscale image, check the threshold again afterwards.
Remove dust and specks with Ignore less than
Even after blur, a scan usually has a scattering of tiny dots: dust on the glass, paper fibres, eraser crumbs, JPEG artefacts. Ignore less than discards any outline whose area is below the value, in square pixels. It also fills tiny pinholes inside solid black areas.
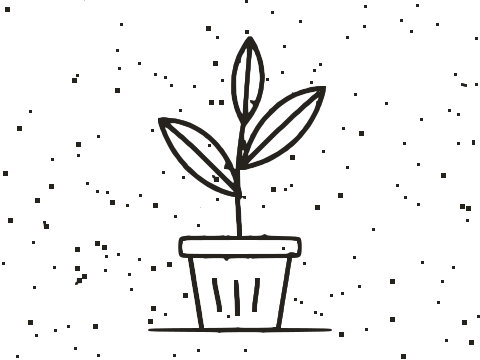
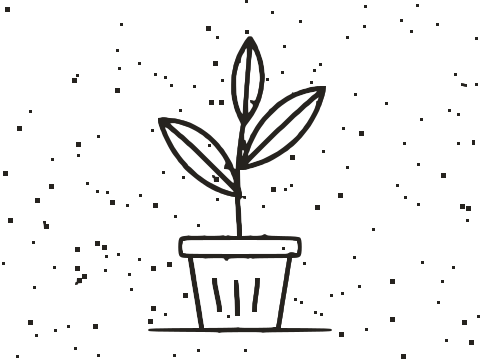
The default of 2 removes only single-pixel noise. For scans, try 10 to start with, then raise it until the specks are gone. Look at the shape count in the status line as you go: on a clean drawing it should fall quickly and then level off, which is the point where only real marks remain.
Be careful with stippling, dotted lines and small punctuation in hand lettering. Those are real details with small areas, and a high value deletes them along with the dust. If you need both, use a moderate value and delete the remaining specks by hand in a vector editor.
Invert for light lines on a dark background
Chalk on a blackboard, white gel pen on black paper, a negative scan or a screenshot of white line art on a dark UI all have the ink lighter than the background. Turn on Invert image and the light parts become the shapes. The histogram reads the same way, but the ink hump is now on the right, so you would raise or lower the threshold in the opposite sense.
Trace, inspect and export
- Switch the preview back to Traced vector.
- Zoom into the busiest part of the drawing and compare it with the original using Fade image.
- If lines look stiff, raise Smoothness to 1.1–1.2 for a more fluid result; if corners in lettering are rounded, lower it to around 0.8.
- If the file is heavy, raise Curve optimisation to 0.3–0.5 and check that fine lines keep their shape.
- Click Download SVG.
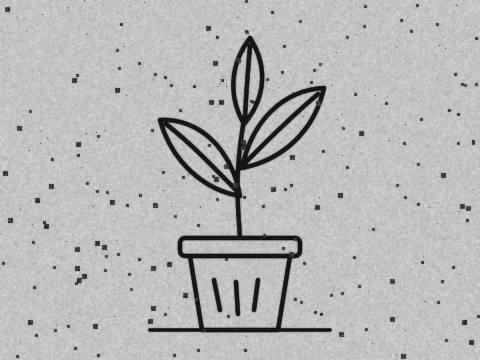
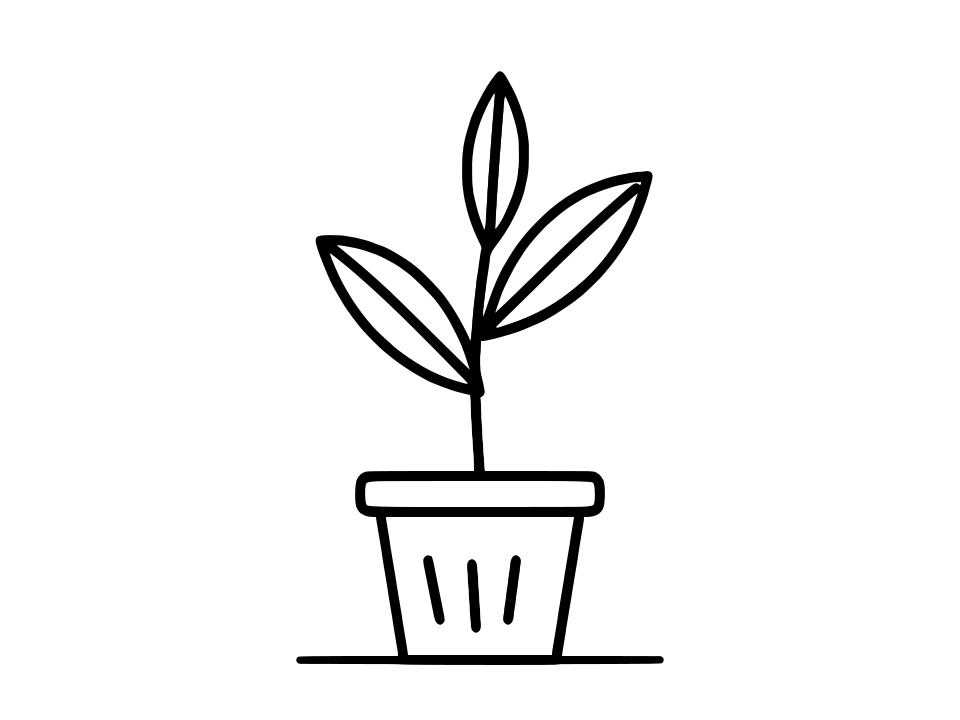
Expect detailed line art to be heavier than a logo. The plant sketch at the top of this page traces to 4 shapes and 598 nodes. Every stroke has two edges, and every wobble along those edges needs nodes to describe it.
Filled outlines, not centerlines
It is important to know what you get. Image Tracer traces the outline of each line, so a pen stroke becomes a thin filled shape with an edge on each side. It does not produce centerline strokes, the single-path lines with an adjustable width that pen plotters, some engravers and single-line fonts need.
For most uses that is exactly right. Filled outlines keep the natural variation of your line weight, look identical to the drawing at any size, and work for printing, screen printing, vinyl cutting, laser cutting, and colouring in a vector editor. If you need true single-line paths, use a dedicated centerline tool instead.
For more on line work specifically, see Line art to vector; for signatures, see Signature to SVG.
Frequently asked questions
What resolution should I scan a drawing at?
300 dpi is enough for most drawings and 600 dpi for small, very detailed work. Image Tracer downscales to the Max size setting (2048 px by default) before tracing, so pick 4096 there if you scan large and want to keep fine detail.
Can I trace a pencil sketch?
Yes, if the lines are dark enough to separate from the paper. Raise the Threshold until lines join up, add a Blur of about 1 to smooth graphite texture, and raise Ignore less than to clear stray grain. Inking over the sketch gives a cleaner result.
Why are there hundreds of tiny shapes in my trace?
Paper texture or dust is crossing the threshold. Raise Ignore less than to 10–50, add a Blur of 1–2, or lower the Threshold slightly.
How do I keep the grey shading from my drawing?
Black & white mode keeps only ink or paper. For a few distinct tones, try Colour mode with a small number of colours, but soft pencil shading will not trace cleanly in either mode.
Can I get single-line paths for a pen plotter?
No. Image Tracer produces filled outlines, not centerline strokes. Use a centerline tracing tool for plotters and single-line engraving.
Last updated