 Before · PNGAfter · SVG · 4 shapes
Getting started
Image Tracer converts a raster image (pixels) into an SVG (shapes). It runs entirely in your browser, so there is nothing to install and no account to create.
- Open Image Tracer and load an image: click Open image, click the drop zone, drag a file onto the page, or paste an image with Ctrl+V (Cmd+V on a Mac).
- Pick a mode with the tabs at the top of the settings panel: Black & white for one-colour artwork, Colour for anything with several flat colours.
- Adjust the settings. Every change re-traces automatically after a short pause, so you see the effect straight away.
- Check the result in the preview, zoom in, and look at the node count in the status line.
- Click Download SVG or Copy SVG.
Supported input formats are PNG, JPEG, WebP, GIF and BMP. SVG files are not accepted, because they are already vectors.
The defaults are chosen to give a faithful trace of clean artwork, so for a crisp logo or icon you may not need to touch anything. If you have changed things and want to start over, Restore default settings at the bottom of the panel puts every control back. It is greyed out while everything is already at its default.
Settings at a glance
| Setting | Mode | Default | Range | In one line |
|---|---|---|---|---|
| Invert image | B&W | Off | On / off | Trace the light parts instead of the dark ones |
| Blur | B&W | 0 | 0 and up (px radius) | Soften noise and texture before thresholding |
| Threshold | B&W | Automatic | 0–255 | Brightness that separates ink from background |
| Output | Colour | Separate shapes | Separate shapes / Stacked layers | How colour regions are built into paths |
| Number of colours | Colour | 8 | 2–32 | Maximum size of the palette |
| Remove background | Colour | Off | On / off | Drop the background region touching the edges |
| Ignore less than | Both | 2 | 0 and up (px²) | Remove specks and pinholes below this area |
| Smoothness | Both | 1 | 0–1.34 | Which turns stay corners and which become curves |
| Curve optimisation | Both | 0.2 | 0 and up | Accuracy versus number of nodes |
| Max size (px) | Both | 2048 | 1024 / 2048 / 4096 / Full | Working resolution the image is traced at |
Modes: Black & white and Colour
The two tabs run two different pipelines, and the settings panel only shows the controls that apply to the active one.
Black & white
The image is turned into greyscale, optionally blurred, then split into ink and background at the threshold. The resulting mask is traced into black shapes. Transparent areas are treated as white, so a logo on a transparent background traces cleanly with no extra work.
Use it for logos in one colour, text, signatures, line art, stamps, scanned drawings and anything you will recolour later anyway. It is the fastest mode and gives the fewest nodes.
Colour
The image is reduced to a small palette (up to the Number of colours) and every region of each colour is traced. Soft anti-aliased edges are cleaned up first, so the grey fringe between a black outline and a white fill does not turn into a thin sliver shape, and each fill colour is measured from the inside of its region rather than from blended edge pixels. Fully transparent areas are left empty.
Use it for flat illustrations, multi-colour logos, icons, stickers and cartoons. For a deeper comparison see Black & white vs colour tracing.
Black & white settings
These three controls decide which pixels count as ink. The Processed image view shows the exact mask they produce, which is the quickest way to judge them.
Invert image
Default: off.
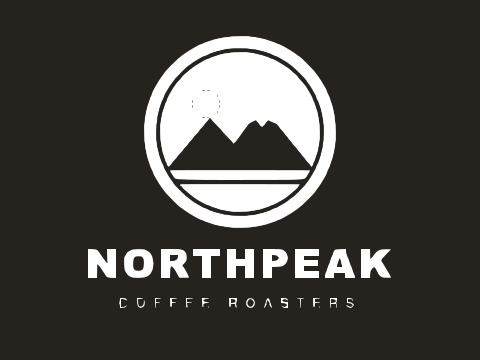
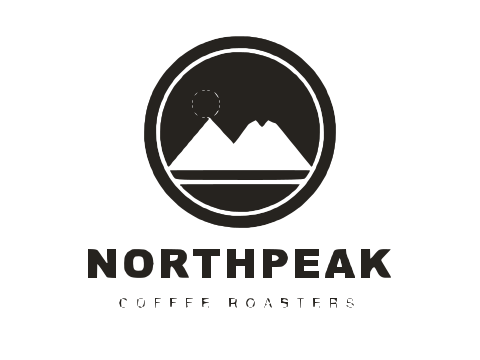
Normally dark pixels are traced and light pixels are background. Invert swaps that: light pixels become the shapes. Turn it on for white chalk on a blackboard, a white logo on a dark banner, or a negative scan. If your trace looks like a black rectangle with your artwork cut out of it, Invert is almost always the fix.
Blur
Default: 0 (off). Range: 0 upwards, in pixels of radius; decimals are fine (1.5 or 1,5).
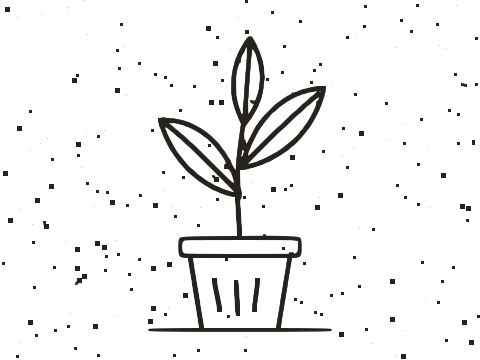
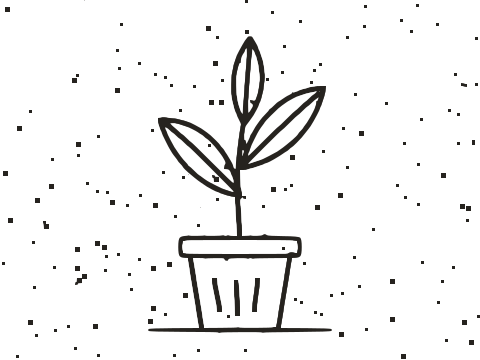
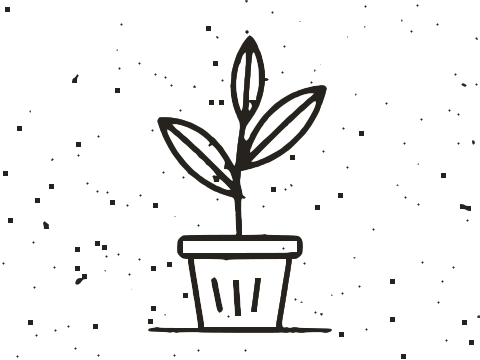
Blur applies a gaussian blur to the greyscale image before the threshold. It removes paper grain, JPEG blockiness and halftone dots, and it rounds off ragged edges so they trace as smooth curves. It takes effect when you press Enter or leave the field.
- Raise it (1–2) for phone photos of drawings, textured paper, noisy JPEGs or edges that look chewed.
- Keep it at 0 for clean digital artwork, small text and pixel art, where blur only rounds corners and fills in small gaps.
Example: a pencil sketch photographed on cartridge paper traces with hundreds of tiny specks at 0. At a blur of 1.5 the grain disappears and the strokes become single solid shapes. Going much higher starts to merge nearby lines and close up the counters of small letters.
Threshold
Default: automatic. Range: 0–255.
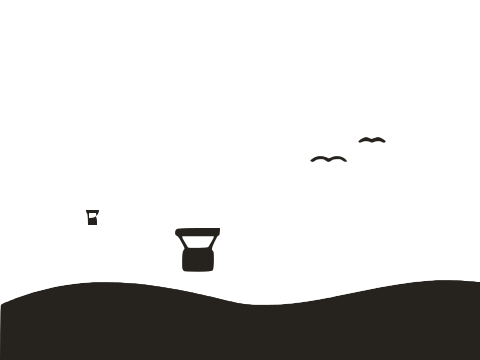
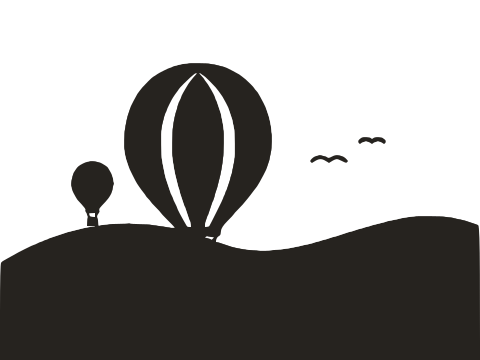
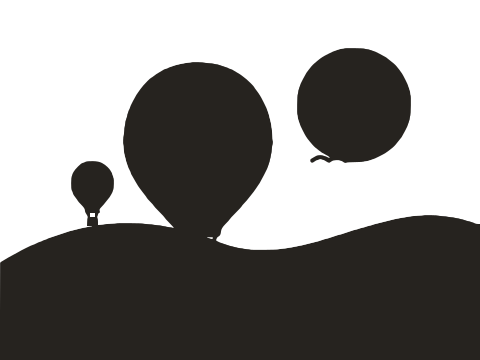
Every pixel darker than the threshold becomes ink. When an image loads, Image Tracer picks a value automatically for that image using Otsu's method, which finds the split that best separates the two main brightness groups. The histogram under the slider shows how many pixels sit at each brightness, with a line marking the current threshold. Clean artwork has two clear humps (ink and paper) and the automatic value lands in the valley between them.
- Raise it to include lighter greys: faint pencil lines, thin strokes that break up, a signature written in light blue ink. Strokes get thicker.
- Lower it to keep only the darkest pixels: drop a grey shadow or a paper tint, thin out lines that have bled together, open up blocked counters in small text.
Once you move the slider your value is kept until you load another image or restore the defaults; until then the value is recalculated automatically, for example after you change Blur. A full walkthrough with the histogram is in How to vectorize a scanned drawing.
Colour settings
Output
Default: Separate shapes.
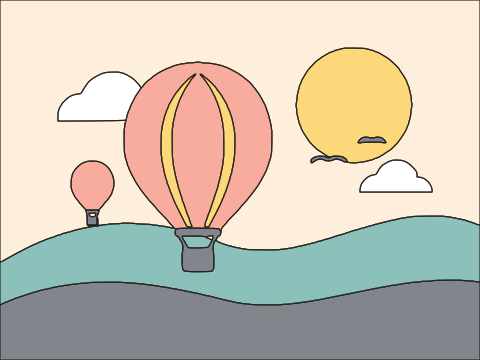
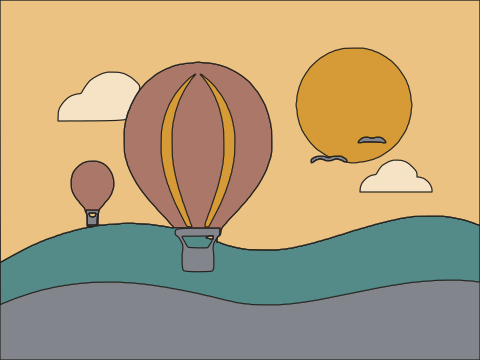
Separate shapes makes every connected region of every colour its own <path>, as a true cut-out: a shape with something inside it has a real hole there, and neighbouring shapes share exactly the same boundary curve. Nothing overlaps and there are no hairline gaps, so you can move, recolour or delete any shape on its own. This is the right choice for cutting machines, for editing, and for most uses.
Stacked layers makes one path per colour, ordered dark to light, where each layer also covers the area of every lighter colour above it. Lighter layers paint over darker ones. You get very few paths (one per palette colour), which is handy when you want to recolour a whole colour in one click, but shapes overlap and the darkest layer covers every coloured pixel in the image.
Example: a red apple with a green leaf on white. Separate shapes gives you an apple, a leaf, a stalk and a white background, each independent. Stacked layers gives you a dark layer the size of the whole picture, with each lighter colour stacked on top.
Number of colours
Default: 8. Range: 2–32.
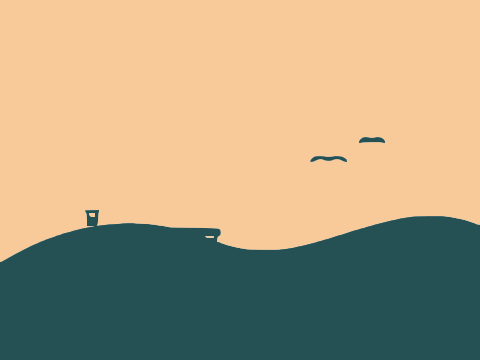
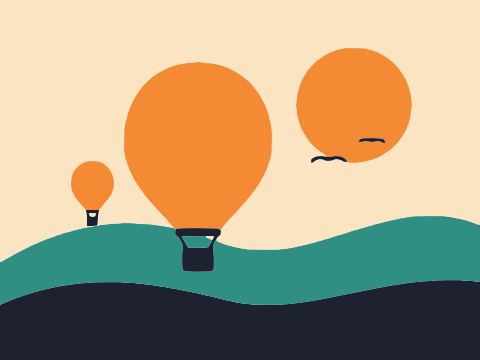
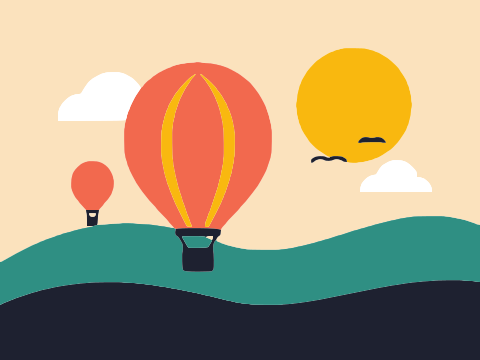
The maximum number of colours in the palette, including the background. The palette appears as swatches under the setting. If the image has fewer real colours, near-identical ones are merged and you get fewer.
- Set it to the number of flat colours you can count, background included. A two-colour logo on white needs 3.
- Raise it when two distinct colours are being merged into one.
- Lower it when gradients or shading break into bands of extra shapes, or when the file is larger than you want. Fewer colours also trace faster.
Remove background
Default: off. Applies to Separate shapes output.
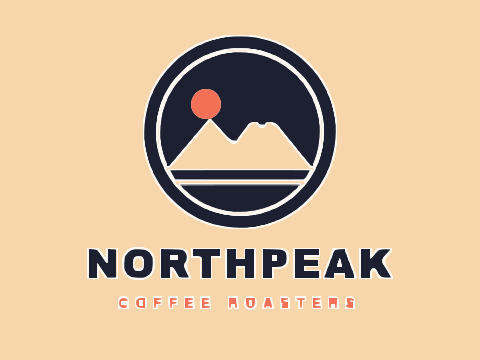
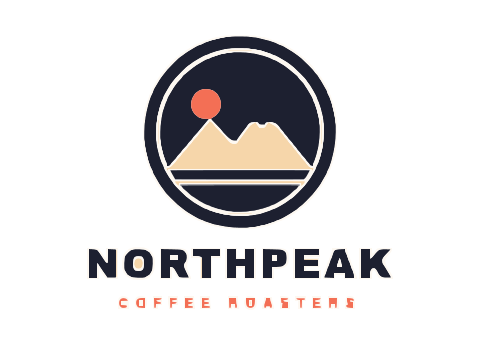
Finds the most common colour along the image border and drops every region of that colour that touches the border. The result is artwork floating on a transparent canvas, ready to place on any background or send to a cutter. Regions of the same colour that do not touch the border, such as the inside of a letter O, are kept. If the background was transparent in the original, it is already left empty and you do not need this option.
Tracing settings
These apply in both modes and control how the pixel outlines are turned into curves.
Ignore less than
Default: 2. Range: 0 upwards, in square pixels of the traced image.
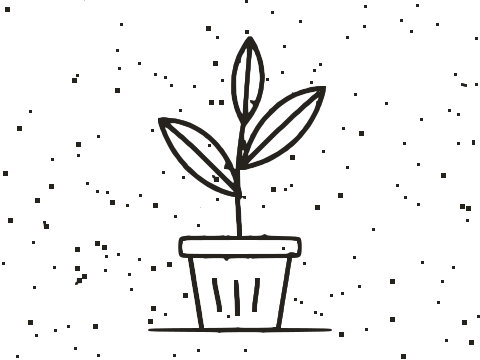
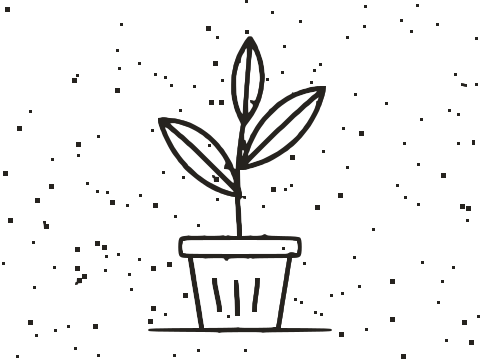
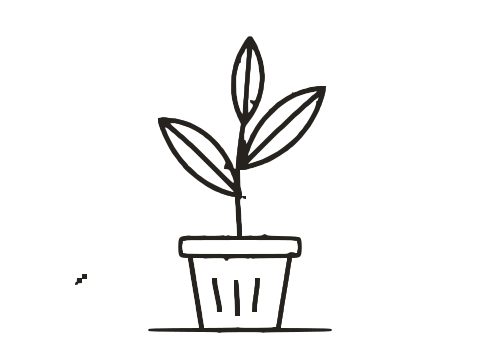
Outlines enclosing less area than this are discarded. In Black & white that removes both stray specks and tiny pinholes inside solid areas. In Colour, small regions are merged into their neighbouring colour, so no gap is left behind.
- Raise it (10–50 or more) for scans with dust, JPEG noise, or textured backgrounds.
- Lower it to 0 or 1 when real detail is tiny: the dots of a stipple drawing, pixel art at 1 px per pixel, full stops in small text.
The area is measured after Max size scaling, so the same value removes relatively larger specks on a smaller working image.
Smoothness
Default: 1. Range: 0 (polygonal) to 1.34 (very smooth).
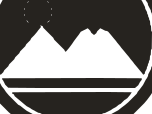
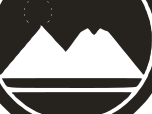
Smoothness decides, at every vertex of the outline, whether the turn is kept as a sharp corner or drawn as a curve. At 0 every vertex is a corner and the output is made of straight lines only. As the value rises, gentler turns become curves; at 1 only sharper turns stay corners. At 1.34 even right angles are rounded.
- Lower it (0.5–0.8) for geometric logos, technical drawings and lettering with crisp joins.
- Use 0 for pixel art or deliberately faceted, low-poly results.
- Raise it (1.1–1.3) for organic artwork such as brush lettering, hand drawings and soft cartoon shapes.
Independently of this setting, corners between straight edges are kept exact and corners softened by anti-aliasing are rebuilt, so a square stays square at the default.
Curve optimisation
Default: 0.2. Range: 0 upwards; useful values are roughly 0–1.
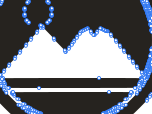
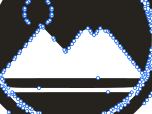
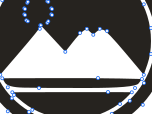
This is the fitting tolerance: how far, in pixels, the simplified outline may stray from the traced pixel edge. Low values follow every bump and keep more nodes; high values let long smooth curves replace runs of short ones.
- Lower it (0–0.1) when small details are being softened or fine text loses its shape.
- Raise it (0.4–1) for a lighter file that is easier to edit, especially for large, simple shapes.
Watch small shapes when you raise it: a dot a few pixels wide can turn lumpy or polygonal, and corners can drift. The node count in the status line tells you how much you are saving.
Max size (px)
Default: 2048. Options: 1024, 2048, 4096, Full resolution.
Before tracing, the image is scaled down so its longest side is no larger than this. The status line shows the working size next to the source size. Changing the value reloads the image at the new size.
- Lower it to 1024 for faster previews of large photos or scans, or to smooth out noise.
- Raise it to 4096 or Full resolution for very large artwork with fine detail, such as a poster-sized scan with thin hairlines.
Images are never scaled up: a 600 px image is traced at 600 px whatever you choose. Full resolution is capped at about 36 megapixels to keep the browser from running out of memory.
Preview and status line
The Mode menu in the Preview group switches what the main view shows:
- Original image: your source, as loaded.
- Processed image: the black and white mask after Invert, Blur and Threshold. This is exactly what gets traced in Black & white mode. In Colour mode it shows the original.
- Traced vector (default): the SVG result.
Three switches add overlays to the traced view. They only affect the preview, never the downloaded file.
- Show path (on by default) draws a thin red outline around every shape, so you can see where one ends and the next begins.
- Show points (on by default) marks every node with a blue dot. Clusters of dots show where the trace is working hard; long stretches with few dots are clean curves. On very complex traces only a sample of the dots is drawn.
- Fade image shows the original faded underneath the vector, so you can check the outline sits on the artwork.
The status line under the preview reports the working size and source size, the trace time, the SVG size in KB, the number of shapes (or layers, for Stacked output) and the number of nodes. Use it to compare settings: if raising Curve optimisation from 0.2 to 0.5 halves the nodes and the shapes still look right, keep it.
Exporting: Download SVG and Copy SVG
Download SVG saves the trace as a file named after your image, with an .svg extension. Copy SVG puts the full SVG markup on the clipboard, ready to paste into a code editor, an HTML page, Figma or another design tool.
Some browsers block clipboard access on pages that are not served over HTTPS. If that happens the status line says so; use Download SVG instead.
What you export is exactly what the Traced vector view shows, without the path and point overlays.
What the SVG file contains
The output is plain, hand-readable SVG with no editor metadata, scripts, embedded images or groups.
- One root
<svg>whosewidth,heightandviewBoxequal the traced pixel size. A trace at 1024×512 px is 1024×512 units. Being a vector, it scales to any size without losing sharpness. - A list of
<path>elements, each with a solidfillcolour (black in Black & white mode) andfill-rule="evenodd". - Outlines made of straight lines and quadratic Bézier curves, written with relative commands and coordinates rounded to a hundredth of a pixel to keep the file compact.
- In Black & white mode, and in Colour mode with Separate shapes output, every visually separate shape is its own path together with its own holes. The letter A is one path containing its outer outline and its triangular hole, so selecting it in a vector editor selects the whole letter and nothing else.
- No strokes, gradients, filters or masks: every shape is a filled area.
Because holes are real holes rather than white shapes on top, the SVG works on any background and is accepted by cutting and laser software that expects closed filled paths.
Privacy and offline use
Image Tracer runs 100% in your browser. Your image is decoded and traced on your own device, in a Web Worker so the page stays responsive, and it is never uploaded to a server. There is no account and no cloud history; when you close the tab, the image is gone.
Once the page has loaded it keeps working without an internet connection. That makes it suitable for confidential material such as signatures, unreleased logos or client artwork. The code is open source on GitHub, so you can check this for yourself.
Shortcuts and ways to load an image
| Action | How |
|---|---|
| Paste an image from the clipboard | Ctrl+V (Windows, Linux) or Cmd+V (Mac), anywhere on the page |
| Open a file | Drag and drop it onto the page, click Open image, or click the drop zone (Enter or Space when it has keyboard focus) |
| Remove the current image | Esc, or the Remove image button above the preview. Your settings are kept. |
| Reset every setting | Restore default settings at the bottom of the panel |
Esc does nothing while you are typing in a settings field, so you cannot clear the image by accident. Pasting works with screenshots and with images copied from most apps and web pages.
Troubleshooting
The result is a black block with my artwork cut out
The tracer is treating the background as ink. Turn on Invert image if your artwork is light on dark, or lower the Threshold if the background is a mid grey.
Thin lines are broken or missing
Raise the Threshold so lighter strokes count as ink, set Blur back to 0, and try a larger Max size if the source is big. Lower Ignore less than if fragments of the line are being discarded.
The trace is covered in specks
Raise Ignore less than to 10–50, add a Blur of 1–2, or lower the Threshold so paper texture falls on the background side.
Edges look wobbly or lumpy
The source is probably small or compressed. Use the largest original you have, add a little Blur, and lower Curve optimisation if small curves are being flattened. Note that the vector cannot invent detail the pixels do not contain.
Corners are rounded
Lower Smoothness to 0.6–0.8. Make sure Blur is 0, since blur rounds corners before tracing.
The file is too large or has too many nodes
Raise Curve optimisation, raise Ignore less than, reduce the Number of colours, or lower Max size. Photos and gradients produce heavy files whatever you do.
Colour mode adds bands or extra shapes
Gradients, shadows and JPEG noise are being split into palette steps. Lower the Number of colours to the count of flat colours you actually want.
The image will not load
Use PNG, JPEG, WebP, GIF or BMP. Formats your browser cannot decode, and SVG files, are rejected with a message in the status line. Re-export the image as PNG and try again.
What Image Tracer does not do
Being clear about limits saves time. Image Tracer does not:
- Produce centerline or stroke output. Every line is traced as a filled outline with two edges, not as a single stroke you can change the width of.
- Use AI or upscale. It traces the pixels you give it. Blurry or tiny sources give soft or approximate results.
- Create gradients. Colour output uses flat fills only, so photographs become posterised regions.
- Export PDF, EPS or DXF. The output is SVG; convert it in a vector editor if you need another format.
- Batch process. One image at a time.
- Edit nodes. There are no drawing tools; open the SVG in Inkscape, Illustrator, Affinity Designer or Figma for clean-up.
- Accept SVG input, keep a history, sync to a cloud account, or come as a mobile app.
The engine is inspired by Potrace but is not Potrace, so node counts and curve placement differ from tools built on it. See Image Tracer vs Potrace for details.
Frequently asked questions
What are the best default settings to start with?
The defaults: Black & white mode, automatic threshold, Blur 0, Ignore less than 2, Smoothness 1, Curve optimisation 0.2, Max size 2048. They give a faithful trace of clean artwork. Change one setting at a time from there; Best settings for image tracing has recipes per image type.
Why is my SVG the same pixel size as my image?
The SVG's width, height and viewBox match the size the image was traced at, so it lines up with the original. It is still a vector: set any width and height in your editor or CSS and it stays sharp.
Does Image Tracer upload my images?
No. Decoding and tracing happen in your browser on your own device, and nothing is sent to a server. Once the page has loaded it works offline.
How do I get a transparent background in colour mode?
Turn on Remove background with Separate shapes output. It drops the background colour regions that touch the image border. Areas that were already transparent in a PNG are left empty automatically.
Can I get single-line strokes instead of filled shapes?
No. Image Tracer always produces filled outlines. For plotters or engraving that need single strokes, use a dedicated centerline tool.
Why does the node count matter?
Fewer nodes means a smaller file, faster rendering and much easier editing. Aim for the lowest count that still matches the artwork when zoomed in, using Curve optimisation and Ignore less than.
Last updated