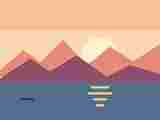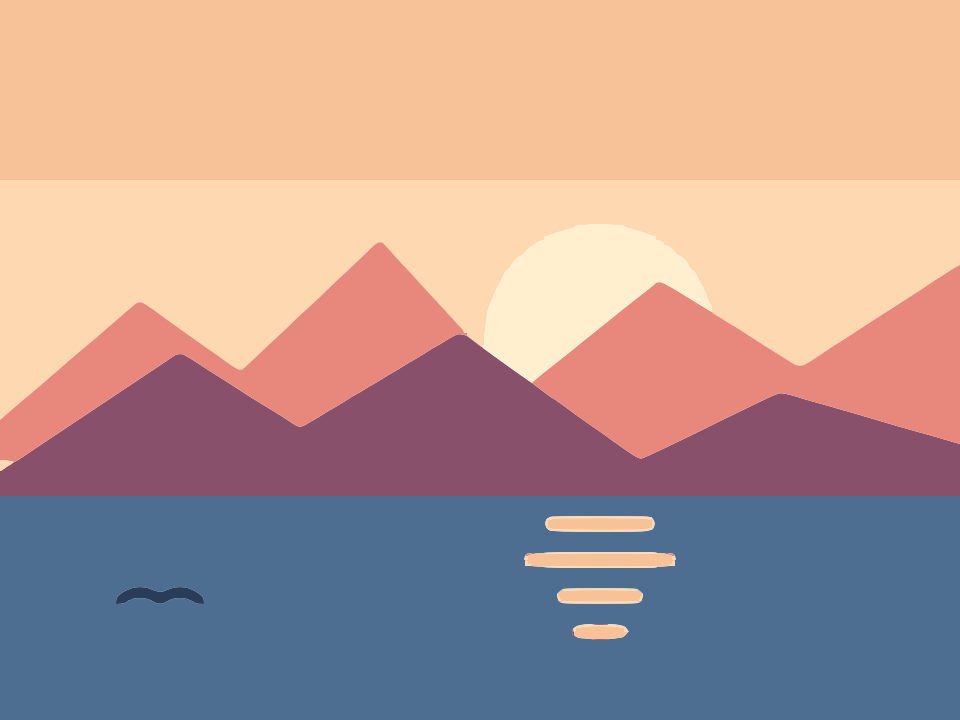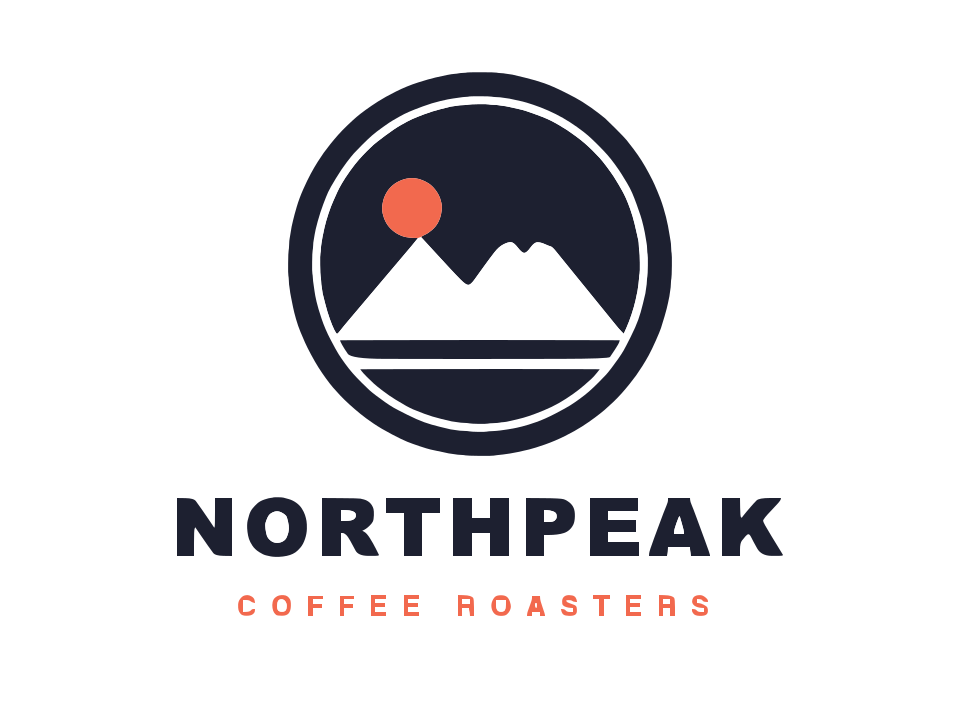
 Before · PNGAfter · SVG · 7 shapes
What converting PNG to SVG actually means
A PNG is a grid of pixels. Scale it up and the edges turn soft and stair-stepped. An SVG describes shapes instead: outlines made of lines and curves that stay sharp at any size, from a favicon to a banner.
Converting PNG to SVG is therefore not a file rename. The image has to be traced: the converter finds the edges of each area of colour and redraws them as vector paths. That is what this tool does, using the same engine as the full Image Tracer editor.
PNG is usually the best starting point for tracing. It is lossless, so edges are clean and colours are flat, without the compression noise you get from JPEG. Logos, icons, stickers, flat illustrations and screenshots of simple graphics all convert well.
How to convert a PNG to SVG
- Drop your PNG on the converter above, click to pick a file, or paste it with Ctrl+V (Cmd+V on a Mac).
- Look at the traced result. The converter starts in Colour mode with 8 colours, which suits most flat graphics.
- If you need more control, open the image in the editor to change the number of colours, switch to Black & white, or tune the tracing settings.
- Click Download SVG to save the file, or Copy SVG to paste the markup straight into your code or design tool.
Nothing is uploaded at any point. Tracing runs in a Web Worker inside your browser tab, and the app keeps working offline once the page has loaded.
How transparent PNGs are handled
Transparency is the main reason people choose PNG, so it matters what happens to it.
In Colour mode
Fully transparent pixels are skipped. They do not become a colour and no shape is drawn there, so the empty parts of your PNG stay empty in the SVG. The example above shows this: a red triangle with a hole on a transparent background traces to a single shape, and the hole is a real hole you can see through.
If your PNG has a solid background instead (a white square behind a logo, say), that background is traced like any other colour. Turn on Remove background to drop the regions that touch the image border.
In Black & white mode
Transparent areas are treated as white. Only the dark parts become shapes, and the SVG has no background rectangle, so the result is still transparent wherever there is no shape. This works well for a dark logo on a transparent background.
A light logo on a transparent background is the one case to watch: light on white disappears. Tick Invert image or use Colour mode instead.
Black & white or Colour: which mode to pick
| Your PNG | Best mode | Why |
|---|---|---|
| One-colour logo, text, icon, scan | Black & white | A single threshold gives the cleanest edges and the fewest nodes. |
| Flat illustration, sticker, multi-colour logo | Colour | Each colour region becomes its own shape with its own fill. |
| Light artwork on transparency | Colour (or B&W with Invert) | B&W treats transparency as white, so light shapes need inverting. |
| Photo or soft gradients | Colour, few colours | Expect a posterised look; gradients become flat bands. |
For a longer comparison with examples, read Black & white vs colour tracing.
Settings that matter for PNG files
- Number of colours (2 to 32, default 8). Set it to the number of colours you can actually see. Too many and soft edges turn into thin extra shapes; too few and distinct colours merge.
- Output. Separate shapes (the default) makes every region its own path, cut out exactly, with no overlaps and no gaps. Stacked layers gives one path per colour, stacked dark to light, which some workflows prefer.
- Ignore less than (default 2 px²). Raise it to drop stray specks left by anti-aliasing or a slightly dirty source.
- Smoothness. Lower it for pixel art or geometric logos, where you want straight edges and hard corners; raise it for rounded, organic artwork.
- Max size (default 2048 px). Larger PNGs are scaled down to this before tracing. A tiny PNG will not gain detail from a larger setting; a big detailed one might.
Not sure where to start? Best settings for image tracing walks through each one with examples.
Tips for a cleaner result
- Use the largest PNG you have. Tracing works from the pixels in front of it. A 64 px icon has very little edge information; a 1000 px version of the same icon traces far more accurately.
- Flat colours beat shading. Drop shadows, glows and gradients each add many in-between colours. If you have a flat version of the artwork, use that.
- Check the Processed image view. In the editor you can switch the preview between Original, Processed and Traced vector to see exactly what the tracer is working from.
- Use Show points to judge complexity. If a simple shape has hundreds of nodes, raise Curve optimisation a little.
What you get in the SVG file
The download is a plain SVG: a list of <path> elements with a fill colour and fill-rule="evenodd", built from lines and quadratic Bézier curves. Width, height and viewBox match the traced pixel size, so it opens at the same dimensions as your PNG (or the Max size, if it was scaled down).
There are no embedded bitmaps, no scripts and no editor-specific metadata. Every visually separate shape is its own path with its own holes, so you can select, recolour or delete each piece in Illustrator, Inkscape, Figma or a text editor.
The status line in the editor shows the size, trace time, file size in KB, and shape and node counts, which is a quick way to compare settings.
Troubleshooting
The edges look lumpy or wobbly
The source is probably small or heavily scaled. Try a bigger PNG, or lower Smoothness for angular artwork.
There are thin slivers between colours
Reduce the number of colours so blended edge pixels are absorbed into their neighbours, and raise Ignore less than slightly.
My white logo vanished
You are in Black & white mode with a light logo on transparency. Switch to Colour mode, or tick Invert image.
The SVG file is large
Detail costs nodes. Raise Curve optimisation, lower the colour count, or lower Max size for very large images.
Frequently asked questions
Is this PNG to SVG converter really free?
Yes. There is no account, no watermark, no file limit and no paid tier. Image Tracer is open source and runs entirely in your browser.
Does my PNG get uploaded to a server?
No. The PNG is read and traced locally in a Web Worker in your browser. Nothing is sent anywhere, and the app keeps working offline once it has loaded.
Will the SVG keep my PNG's transparent background?
Yes. In Colour mode fully transparent pixels are left empty, and in Black & white mode they count as white, which also produces no shape. The SVG has no background rectangle, so empty areas stay transparent.
Can I just rename a .png file to .svg?
No. That produces a broken file, and even an SVG that wraps a PNG inside it is still pixels. To get real, scalable vector shapes the image has to be traced, which is what this converter does.
Why does my converted SVG look posterised?
Tracing turns areas of colour into flat filled shapes. Smooth gradients and photo detail become bands of flat colour. That is expected; tracing is best for logos, icons and flat illustrations. More colours give smoother bands at the cost of a larger file.
Last updated